Written by Ayelet Ronen; all photos by Anna Fort.
If your household is like mine, most of the trash waste is generated in the kitchen. By now, my family has figured out a way to shop for the just right amount of food each week so that nothing goes bad before we get around to eating it. But there still seems to be an endless stream of garbage, primarily in the form of food packaging. The more environmentally-conscious I (and the rest of the world) become, the more troubling it is to me how often we take out the trash and recycling, and how short-lived each packaging’s use is. It can be mere days (or even minutes!) after an item is brought home from the store that its packaging is tossed into the trash!
And so I find myself drawn to the idea of a zero-waste kitchen, popular among today’s environmentally-conscious lifestyle bloggers. The concept is simple: reduce the amount of waste your household generates to, well, nothing. But the actual implementation seems really hard! My grocery store has a robust produce section, but the rest of the store is filled with products wrapped in packaging. Even if I drove miles to find bulk items, carried my own utensils everywhere I went and used only refillable drink containers, I could never stop the stream of junk mail and incidental waste that enters my home.
It may be a while before I fully jump on the zero-waste bandwagon. For now, I’m determined to take baby steps to reduce the waste my family generates. We’ve mastered the art of reduce-reuse-recycle, and now we need to start adopting the fourth R: refuse. Just because something is offered to me at no cost–a plastic bag, a plastic fork, a flyer–doesn’t mean there’s no cost to the planet. I can’t vow to never accept a piece of single-use plastic ever again, but I can make it easier to refuse such items by creating convenient alternatives that fit with my lifestyle.
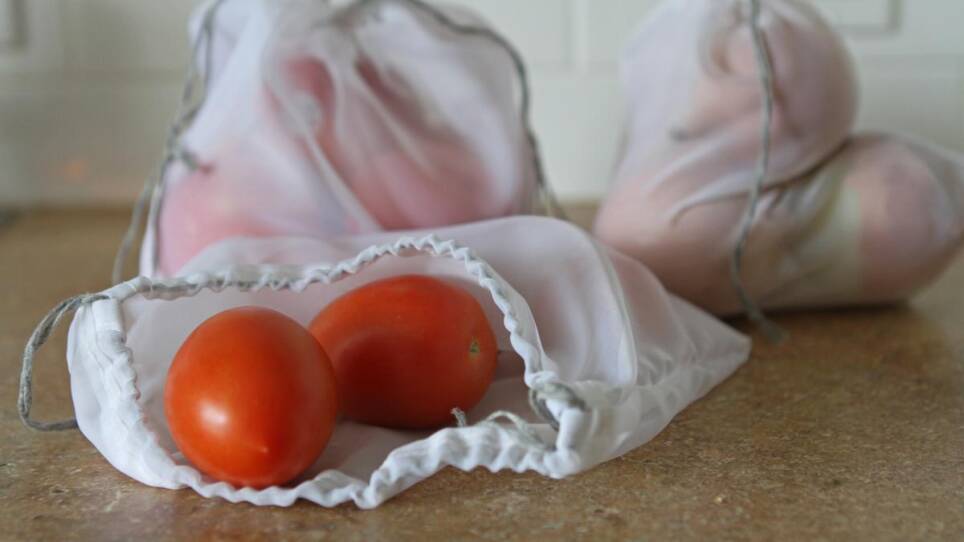
Most of us are now in the habit of bringing our own tote bags when we go grocery shopping. Take the next step by bringing your own produce bags to avoid using the plastic produce bag your store offers. Don’t have produce bags handy, or don’t want to shell out cash for retail-priced ones? Make your own with this step-by-step tutorial!
What you’ll need:

- Lightweight sheer fabric. A spare sheer curtain panel you may have lying around is perfect! (Make sure you give it a good wash before starting!) You won’t want your fabric to weigh down your produce too much, and you’ll want to make sure the cashiers can see the produce through the bag.
- String or ribbon
- Pen or chalk for marking the fabric
- Scissors
- Ruler
- Pins and safety pin
- Sewing machine (or a needle, if hand-sewing is more your thing)
- Sewing thread
How to get the look:
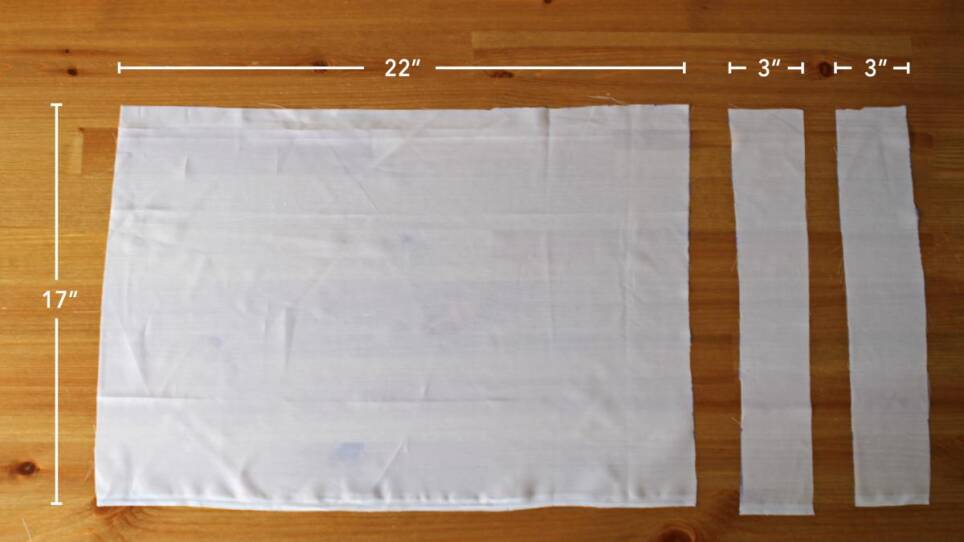
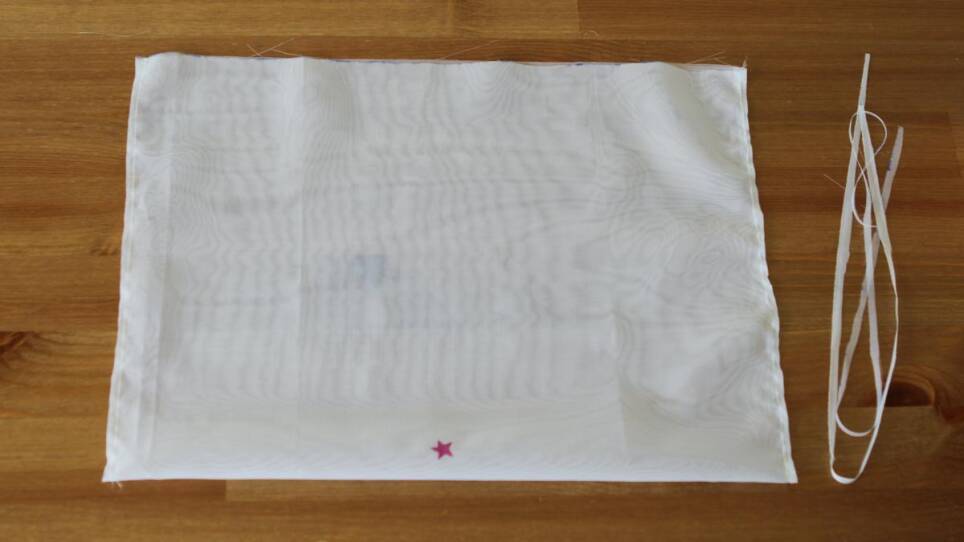
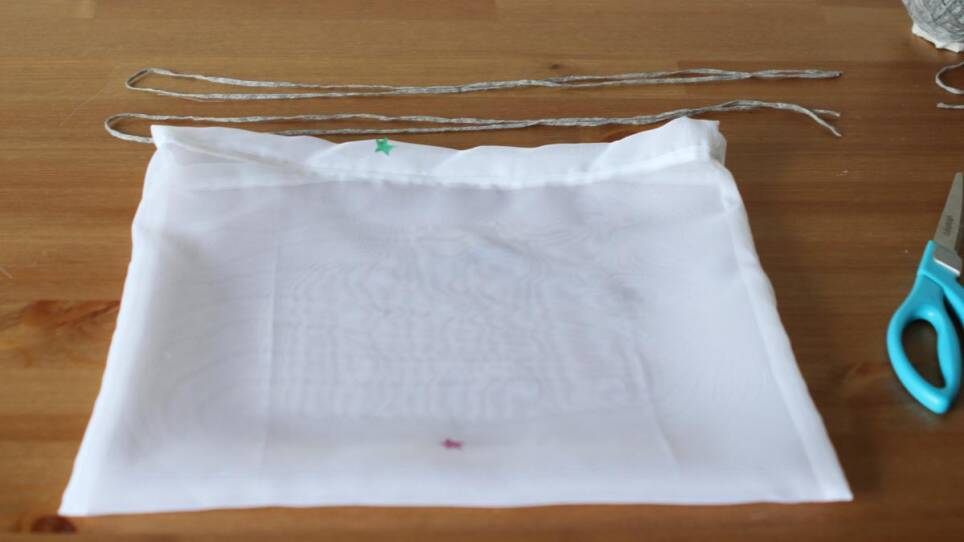
1. Measure three pieces of fabric: one 17“ x 22” in size, and two 17“ x 3” in size.
Hint: lay four pieces of 8 1/2“ x 11” paper in two rows of two columns to easily measure out the larger piece.
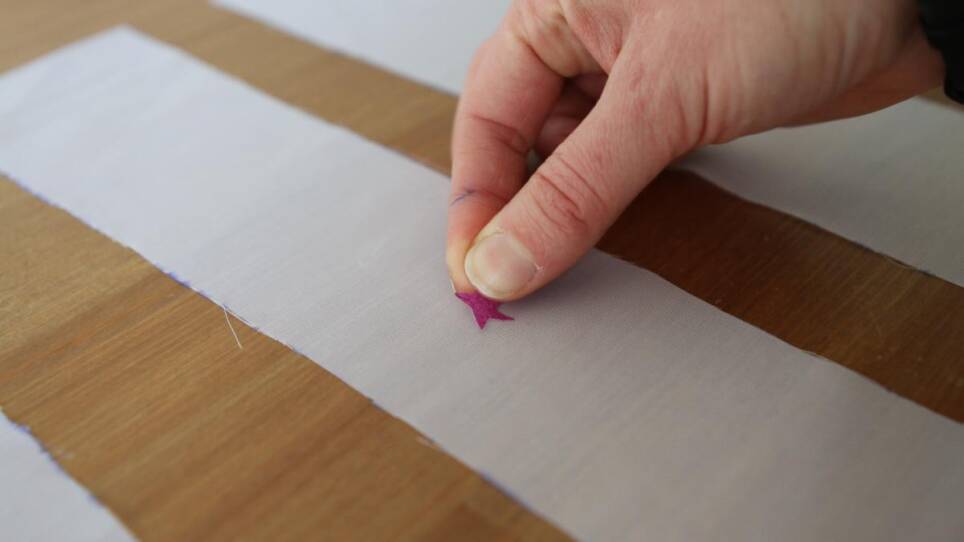
2. If your fabric is the same on both sides like mine, you may want to put a sticker on the “right” side to help you remember which side is which. You can pick either side to begin with, but once you start sewing, you’ll want to pay attention to which side faces which way. (Look for the stickers in the images to help you with this.)
3. On the two narrower pieces, fold each short end by 1/4“ toward the wrong side, and then fold again. Pin in place.

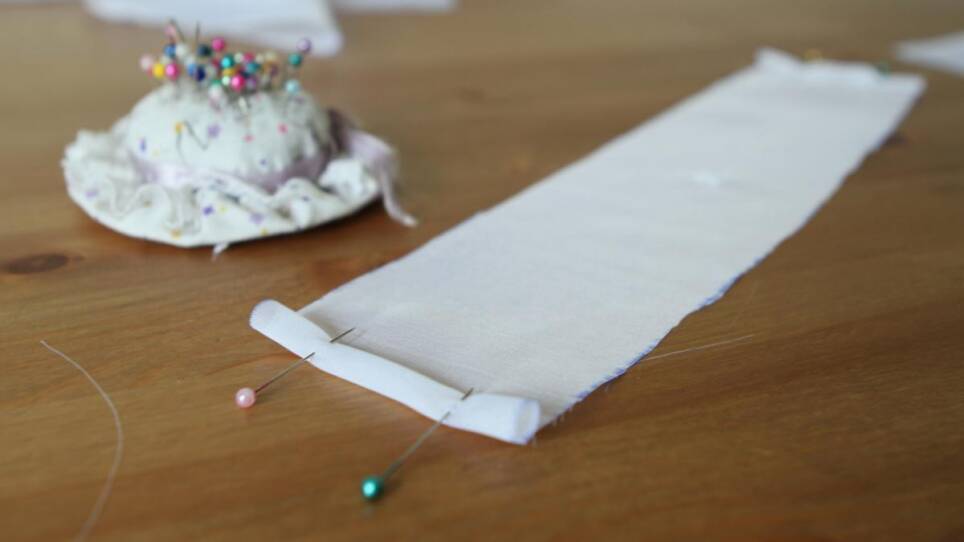
4. With the right side of the fabric facing up, sew the folded ends in place. You’ll want to sew a tiny bit less than 1/4” from the edge to ensure that the folded ends are held in place by the line of stitches. (And don’t worry if it’s not perfect—your tomatoes won’t notice.)


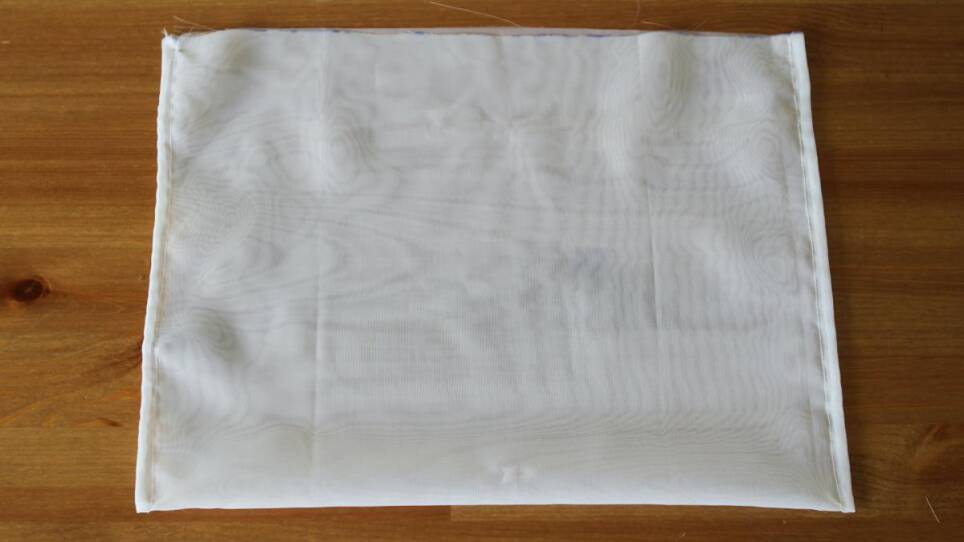
5. Next, fold the larger piece of fabric in half hamburger-style, with wrong sides together. (Yup, wrong sides together!) Pin along the left and right sides, leaving the top unpinned.
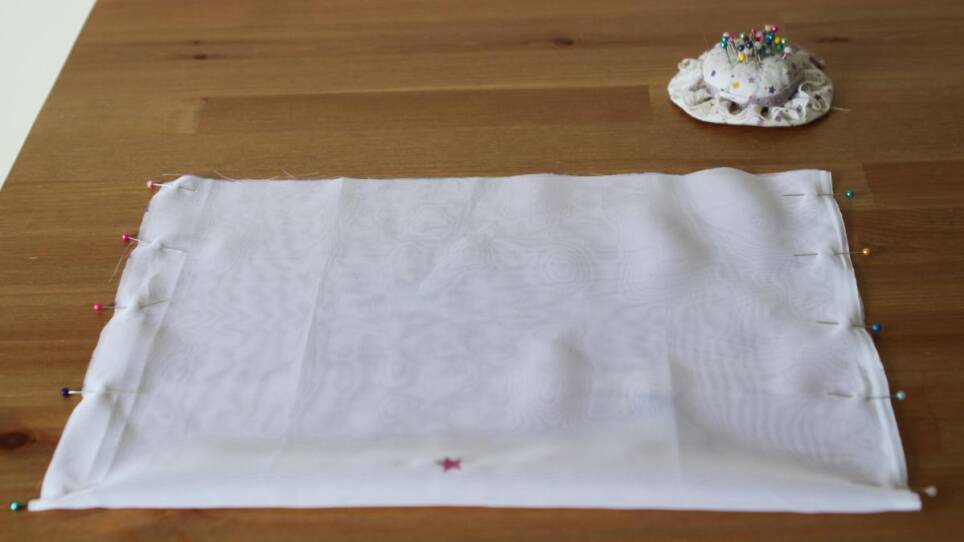
6. Sew along the two sides 1/4“ from the edge. Start from the bottom of the bag (the fold) and sew up towards the top (the open end).

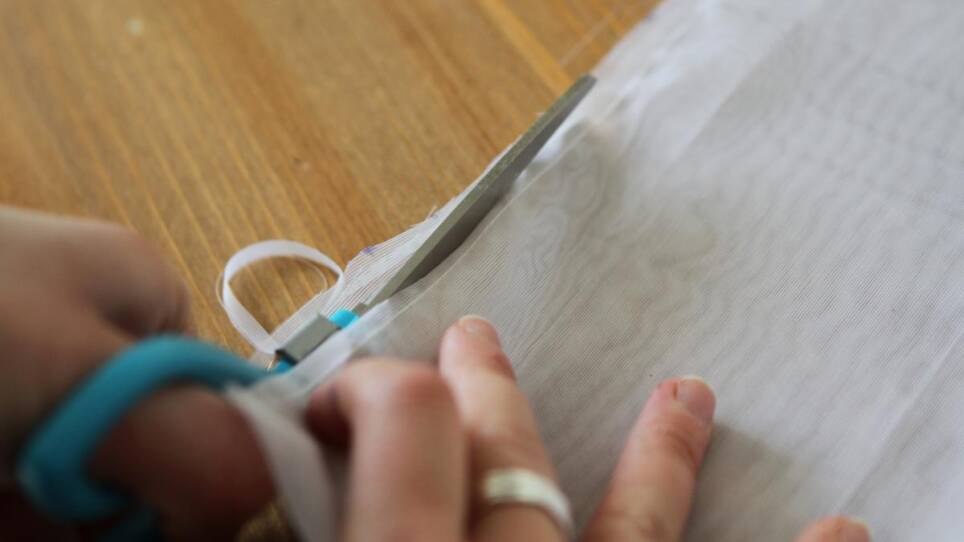
7. You’ll likely have noticed by now that this type of fabric frays like crazy. We’re going to trim the seam allowance (the extra fabric on the opposite side of the stitch line from the bag itself) in half and then trap those raw edges to keep them from fraying further.
Carefully cut the seam allowance on both sides of the bag in half.
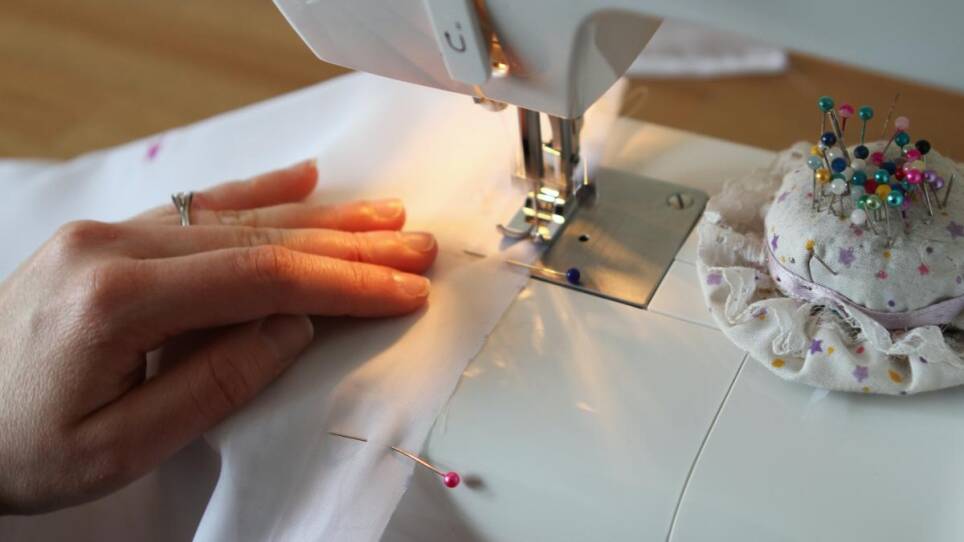
8. Gently flip the bag inside out (sticker facing inward) and fold along the two sewn sides, trapping the raw edges. Pin down each of the sides.


9. Sew the two sides 1/4” from the edge. Again, start at the bottom of the bag and sew up towards the top opening.
10. Take the two smaller pieces and fold them in half, hot dog-style. Pin one on each side of the bag’s opening between the two seams, lining up the raw edges of the smaller pieces with the raw edge of the bag. Check to make sure you haven’t pinned through both sides of the bag and that the bag can still open fully.

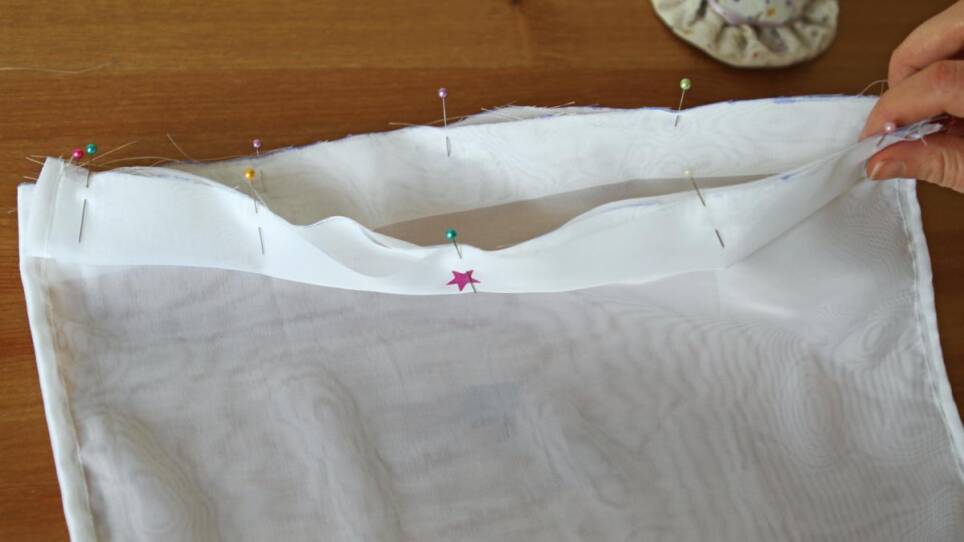
11. Sew down the raw edges in a loop 1/4“ from the edge.

12. Carefully trim the seam allowance in half.

13. Flip the strips you’ve just open and into the bag and pin in place to trap the raw edges. (The strips should now be facing the right side of the bag, while the wrong side of the bag is facing outwards.) Pin all along, checking to make sure the bag can still open fully.

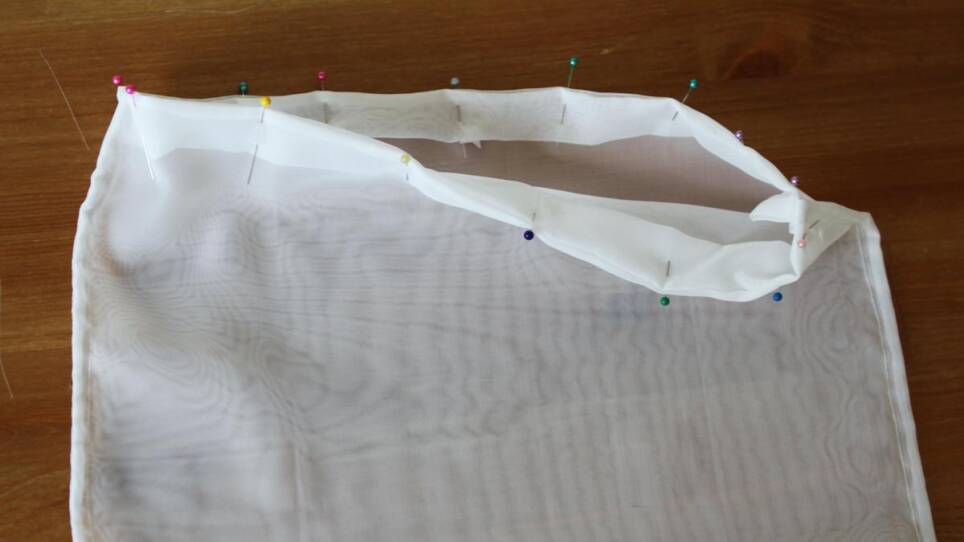
14. Sew in a loop again, 1/4” away from the edge.

15. Flip the bag right-side out and open the seam you just created. Fold the seam allowance towards the body of the bag (away from the strips).
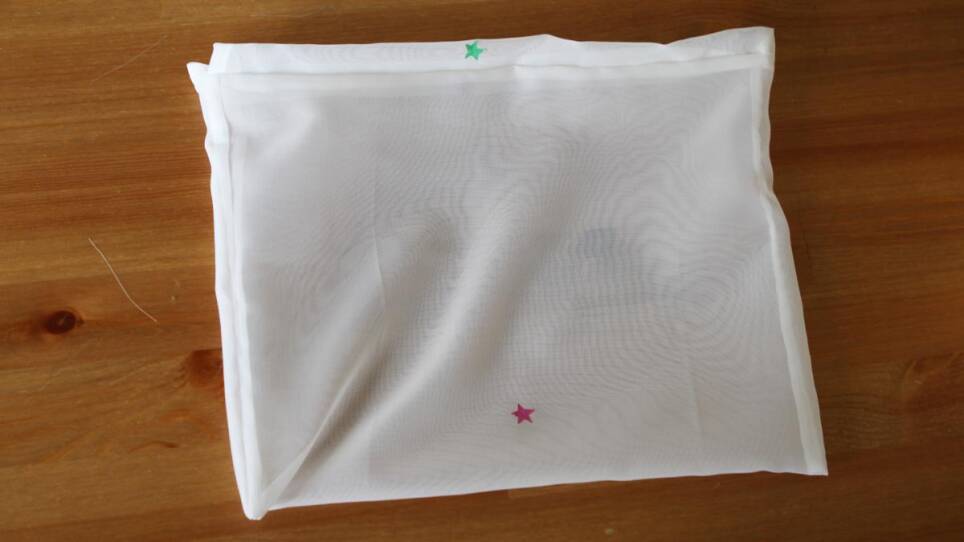
16. With the outside of the bag facing up, sew a line of stitching 1/8“ away from the seam connecting the bag and the strips. This will hold the seam allowance down and keep the strips from flipping outward.


17. Cut two pieces of string a few inches longer than the diameter of the bag.
18. Insert a safety pin through one end of one of the strings.
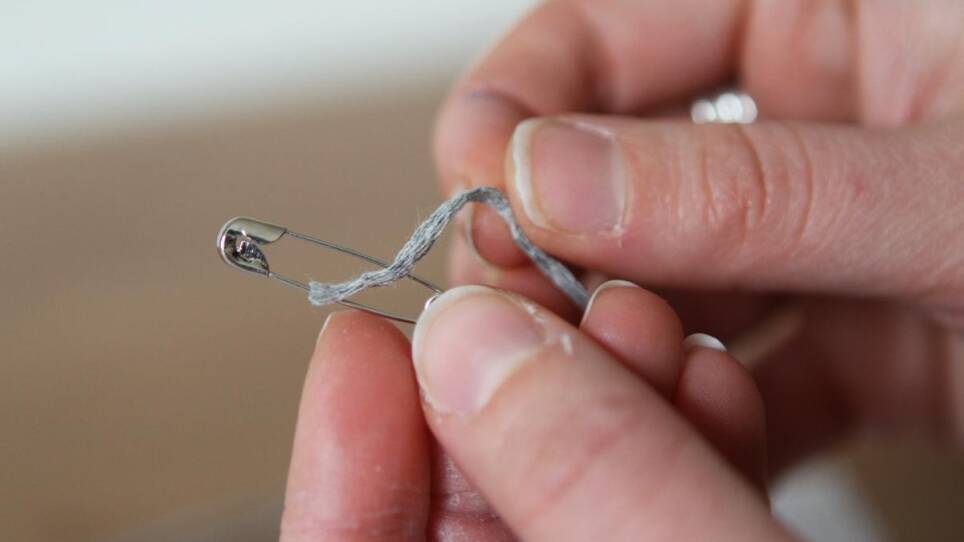
19. Using the safety pin, guide the string through the strips, starting at one end of the bag and coming out in the opening immediately next to it to form a loop.
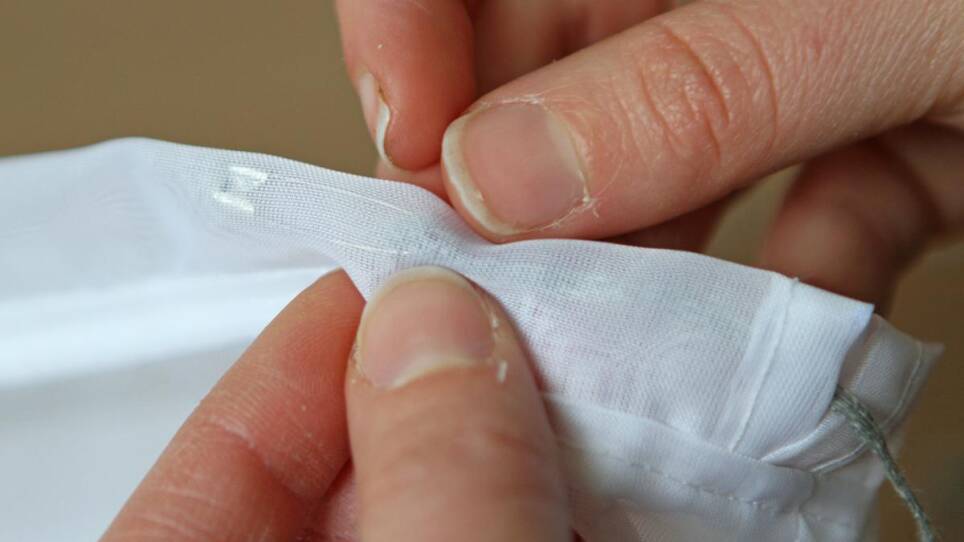
20. Thread the other string the same way, but start on the oppose side of the bag. Again, form a loop by having the string come out in the opening immediately next to where it went in.
21. Tie the two ends of each string in a knot and trim the excess string.

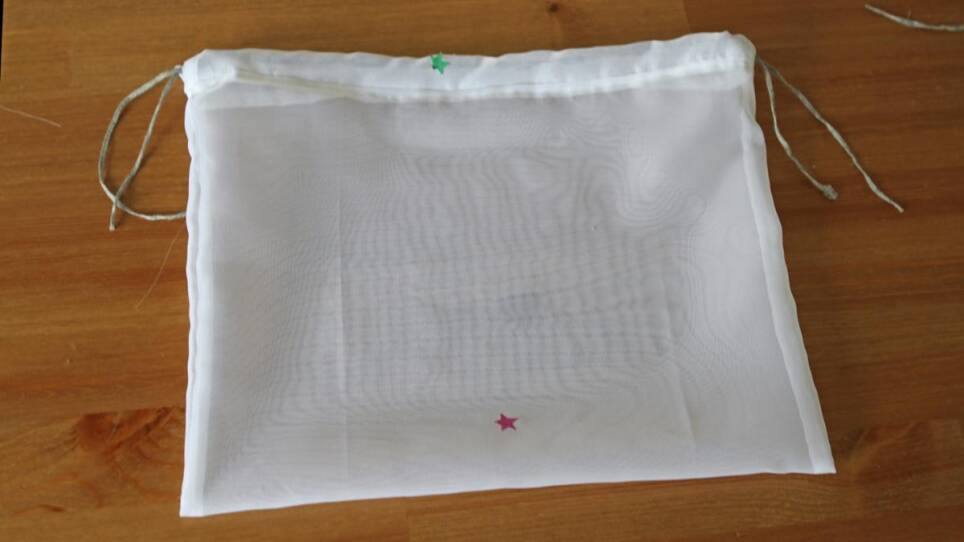
22. Pull the strings on either end of the bag to close the bag.

And voilà! A bag for all your produce shopping needs. Make it your own by varying the size and shape, or use different colored ribbons for each type of produce, but most importantly, make it a habit to bring these when you go shopping! (And be sure to throw them into the wash every few weeks!)